When the printer indicates that it is “No Toner”, the printer may be running out of toner in the toner cartridge. Another situation it is “No Toner” error. What is “No Toner” error? There is ;a lot of toner powder inside toner cartridge, but the printer still indicates that it is “No Toner”. That is the “No Toner” Error.
How to Check Toner Cartridge Model
First of all, when we see “;No Toner”; メッセージ, most people’;s first reaction is to replace toner cartridge. we ignore to check the printer cartridge model before replacing toner cartridge. ;Only the correct toner cartridge enable the printer to carry out the command and ;complete the task efficiently. それで, how to use the correct method to check the toner cartridge model?
1. Check It by printer
Press the printer menu and click on the teardrop icon to jump to the toner level page.
Click on the toner level on the screen to view the current printer installed cartridge model.
2. Check It by Computer
Open the “;HP Print Assistant”;.
Click on the upper right corner of the “;Estimated Level”;.
You can view the current cartridge model.
How to Check the Toner Level
There are three ways to check the toner level.
1.Check Toner Level By Report.
You can check the remaining toner amount by printing report. First in the printer’;s settings panel, click the “;wrench icon”; ボタン.
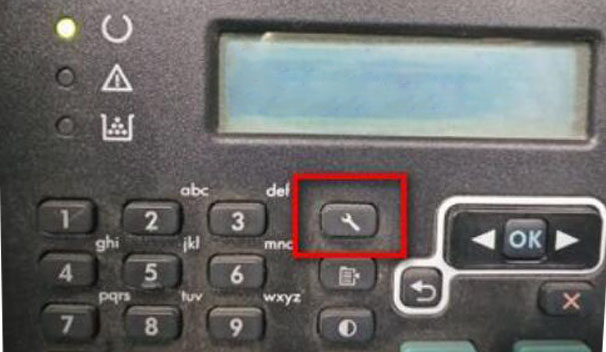
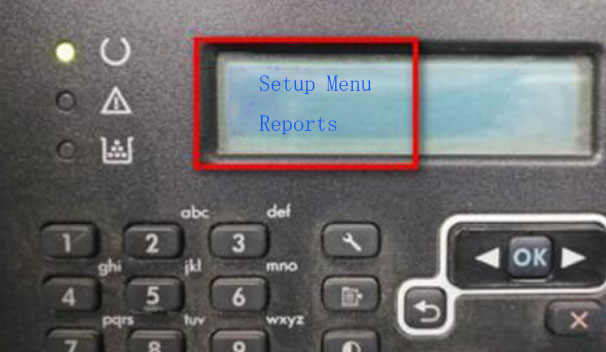
Then the display box shows “;Setup Menu”;.

In the printer’;s settings panel, click the back arrow button.
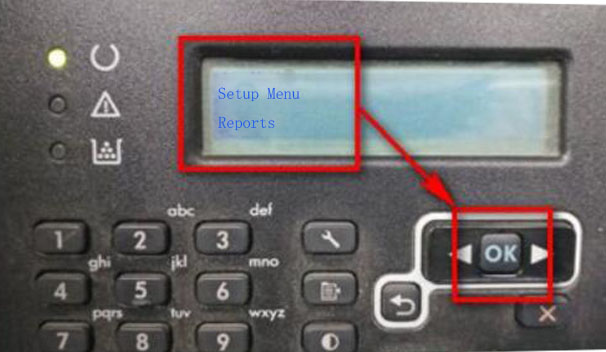
Click the “;OK”; ボタン, and then print out the status of the supplies.
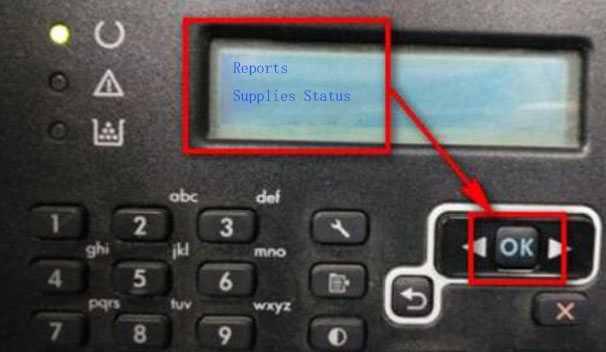
It shows the amount of toner remaining in the toner cartridge. The remaining amount of consumables: If the display is very low, it means that the toner is almost used up. Pages printed with this supply show how many page printed. Estimated Pages Remaining show how many page can print. ;if Estimated Pages Remaining is “;?”;, it means the toner powder used up.
2. Touch Screen or LCD Control Panel.
Most printers use a touch screen or LCD control panel. The user can display the amount of toner on the printer. We can use the control panel menu, find and select the “;supplies status”; オプション. Then enter the “;supplies status”; will be able to view the printer remaining toner.
;3. Check Toner Level By Windows.
We can also check the tone level through the Windows computer. We needs to confirm that the computer has been installed printer driver and connected well. We turn on the printer. We search for HP on the Windows device. Then select HP Solution Center or printer name from the list of results. The amount of toner will be displayed on the main window of the printer software.
How to replace the toner cartridge
1. Turn off the printer power
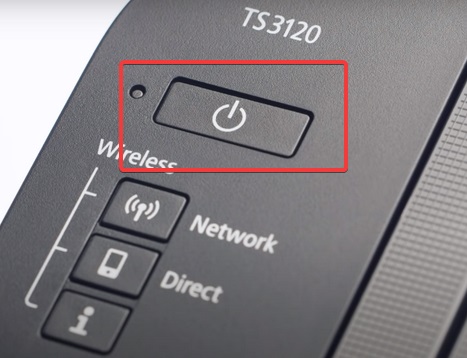
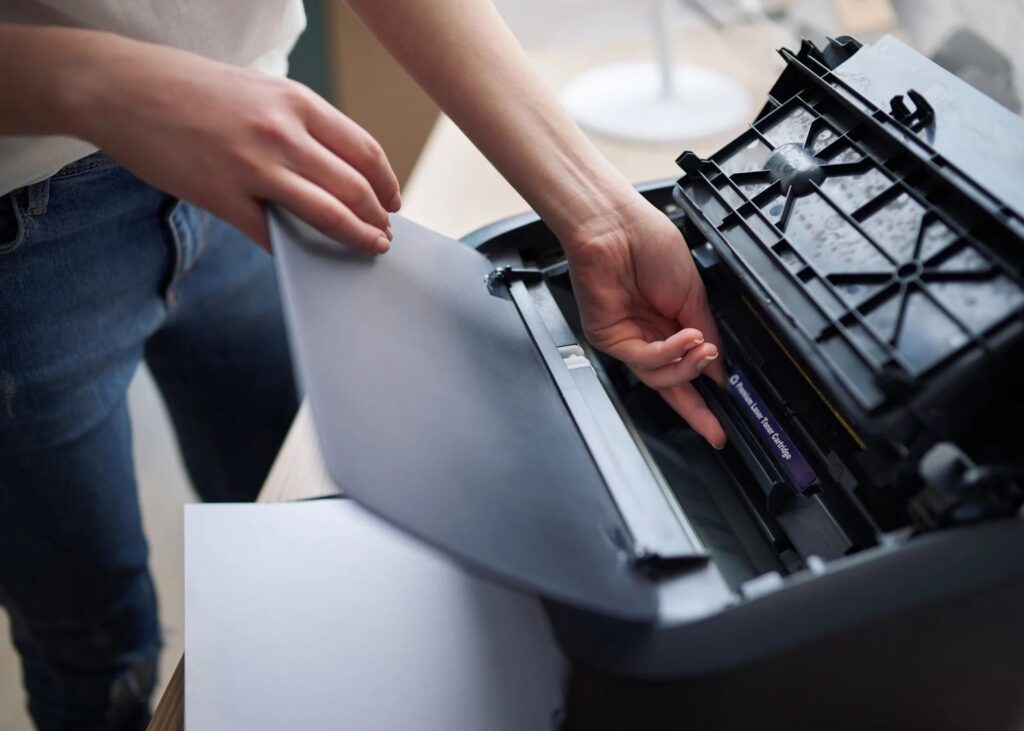
2. Open the printer cover, remove the toner cartridge.
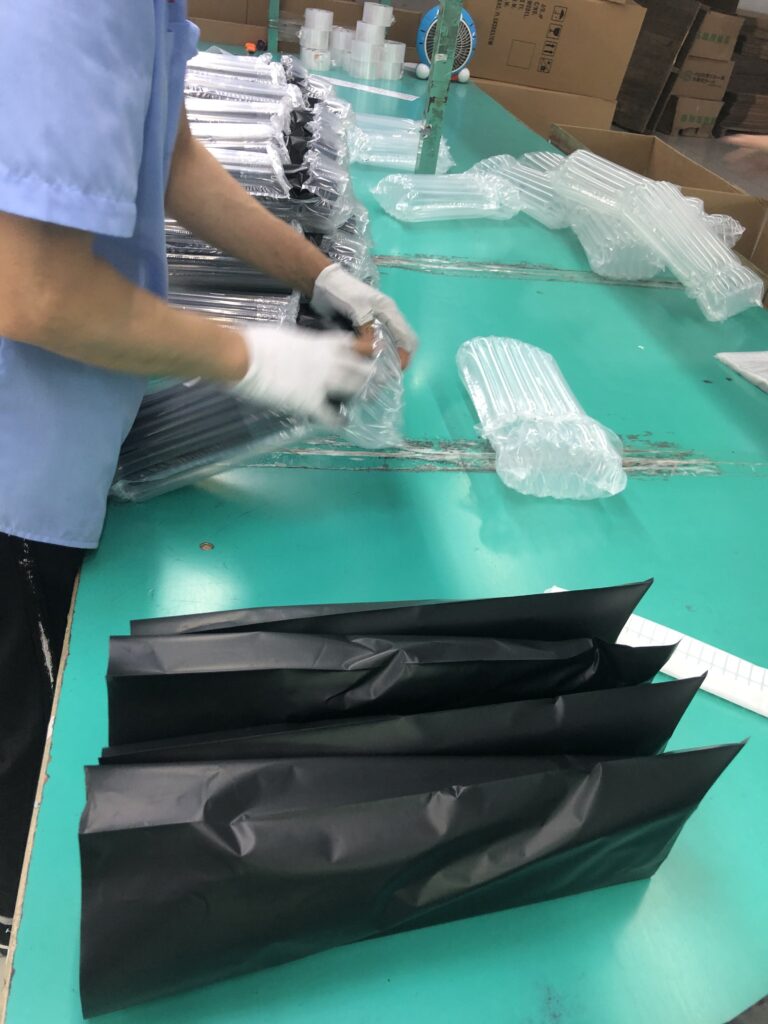
3. Unpack the new toner cartridge. Cut the tape with scissors, be careful not to damage the toner cartridge.
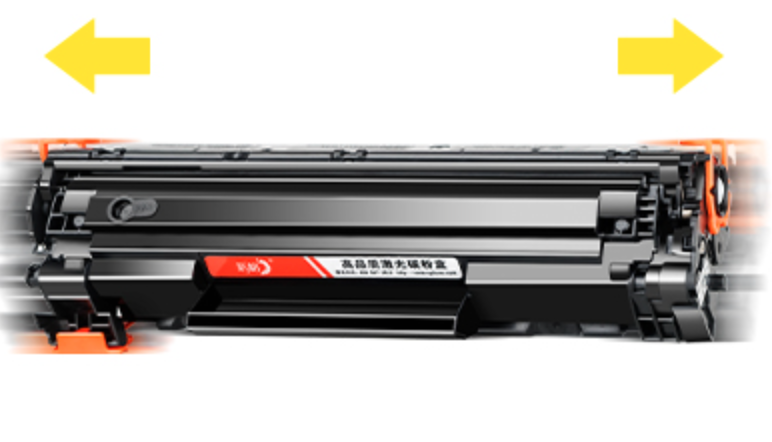
4. Shake 5-6 times to make the toner evenly.
5. Remove the protective cover.
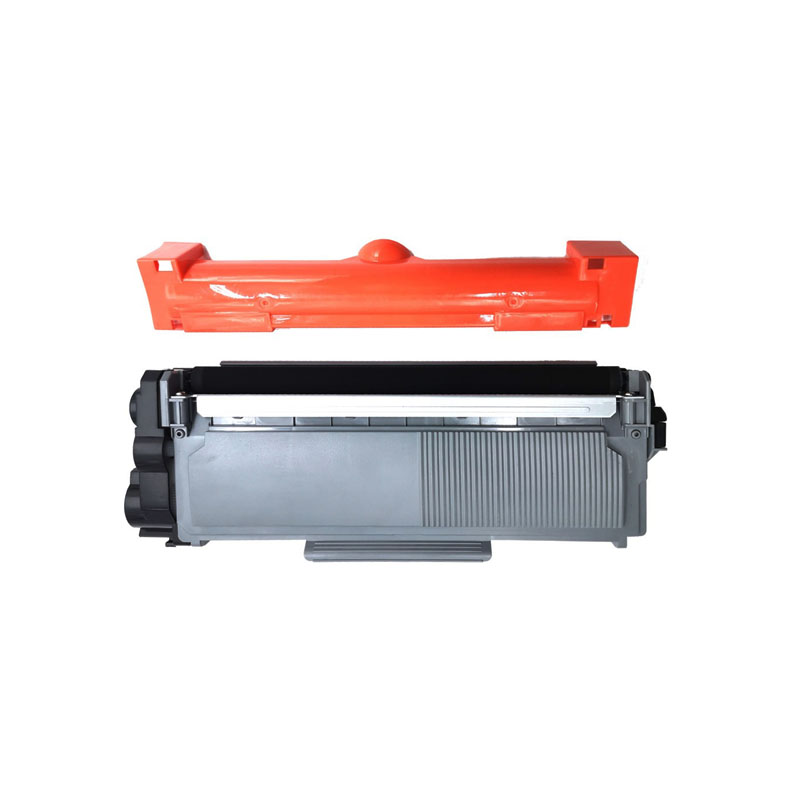
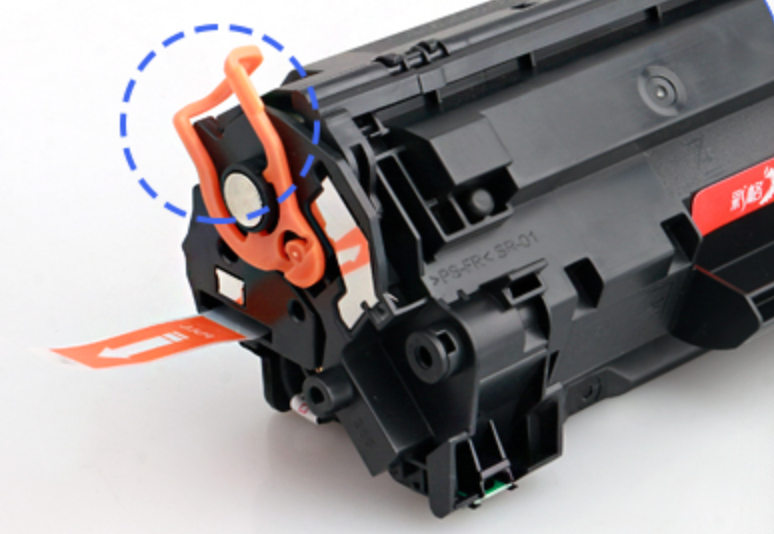
6. Pull off the orange tab.
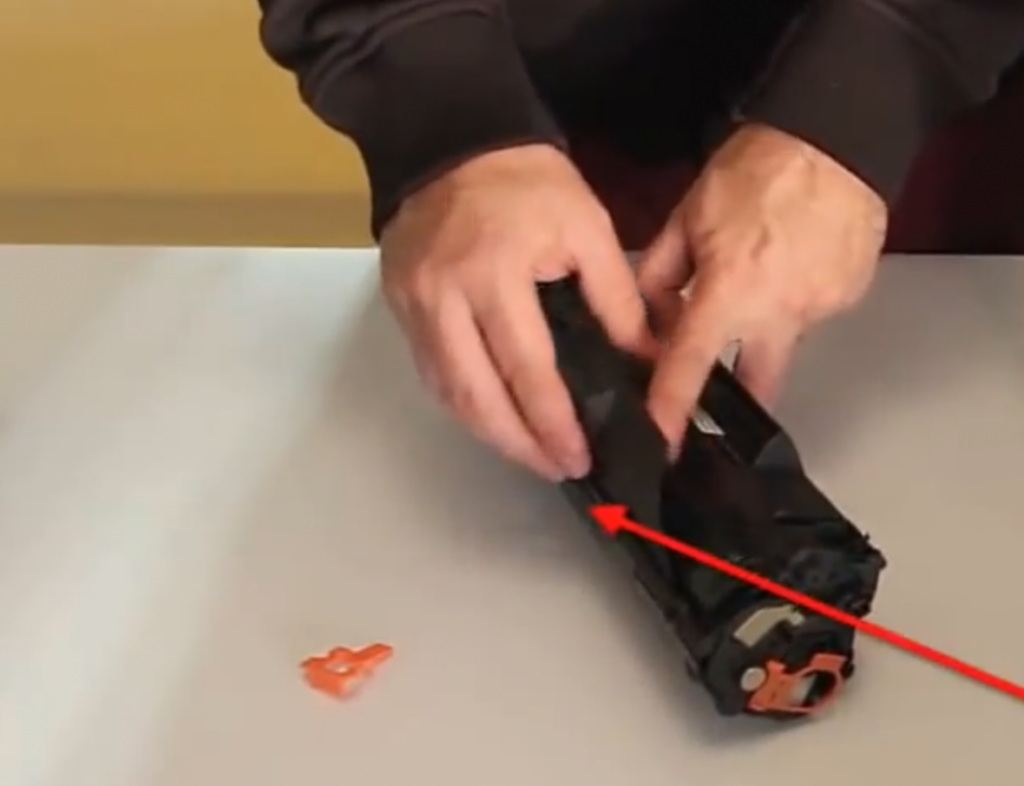
7. Remove the isolation paper.
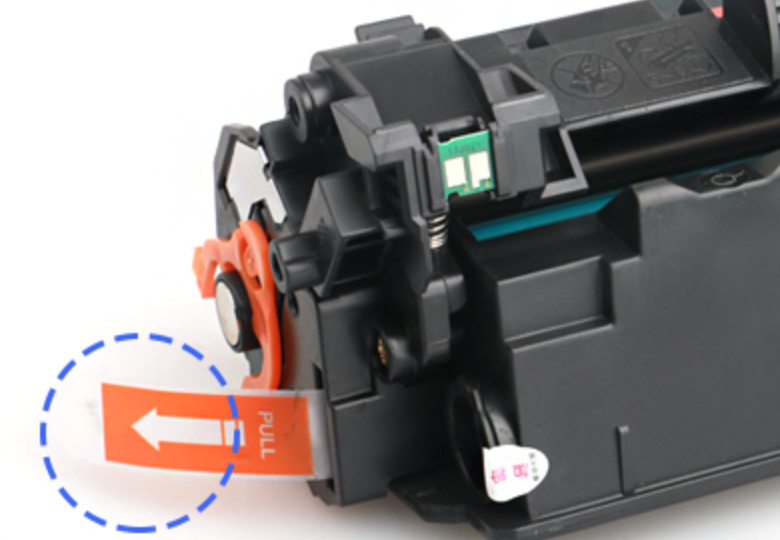
8. Pull the seal.
9. Put into the printer.
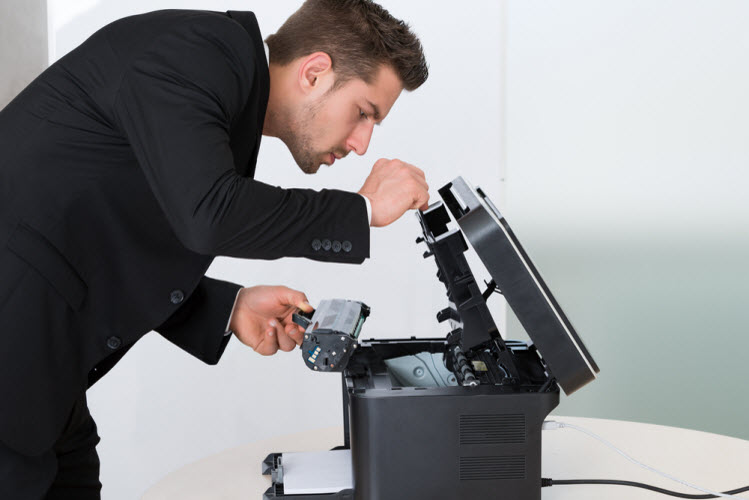
10. Close the cover.
11. Start printing.

;After confirming the type of consumables and installing them in the normal way. What should we do if we receive an error message from the printer?
Why “;no toner”; エラー?
Mainly caused by the following four reasons.
1. Printer structure. When the printer is running and printing, the powder cartridge is driven by the powder printer supply roller to move synchronously. So that make the chip and the printer probe separation
2. Wrong chip type installation. It is wrong toner cartridge chip.
3. Chip contacts with stains, oxidation, glue and other objects.
4. Print probe deformation, damage can not contact with the chip.
How to do for “;no toner”; エラー?
The first step: with special actions to make the chip back to normal.
Open the printer cover, close the cover, wait for the machine to finish running. after finishing those, we observe whether the printer is back to normal.
Open the printer cover, take out the toner cartridge, install the toner, close the cover. After those action, we observe whether the printer is back to normal.
Turn off the printer power, wait 3-4 seconds and then turn on the printer. その後, we observe whether the printer is back to normal.
The second step 2: confirm that the printer currently in use is installed with the correct chip. We also need to check the chip surface for stains, oxidation, glue and other objects.
Open the printer cover, we check whether the chip coding model is consistent with the machine area.
Remove the toner cartridge, observe whether the chip surface stains, oxidation, glue and other objects.
If there are other objects, please use industrial alcohol and non-woven fabric to erase. If you can not erase, you need to replace the new chip.
Close the printer cover to observe whether the printer is normal.
The third step: observe whether the print probe deformation or damage.
Open the printer cover to remove the toner cartridge, use a water-based pen will be coated with all the chip contacts.
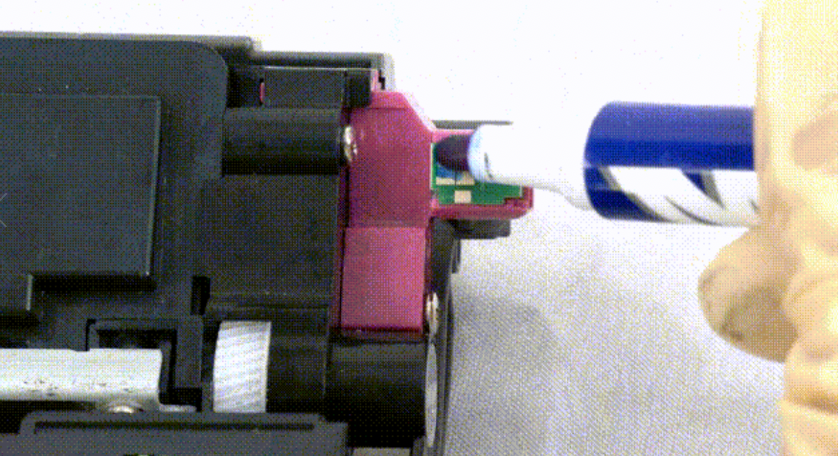
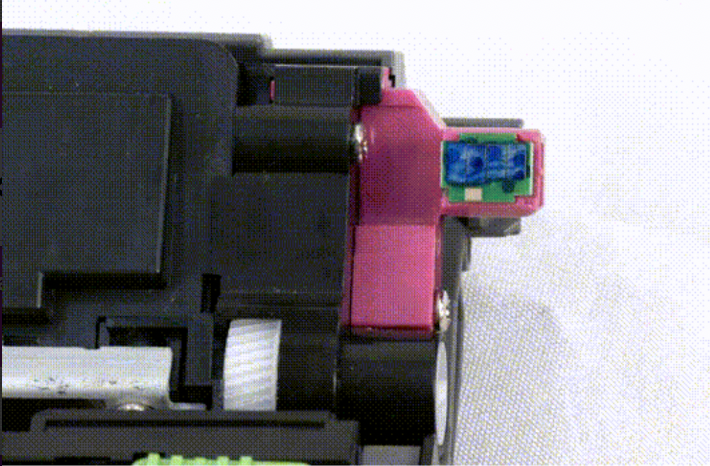
Close the cover, let the machine runs 4-5 seconds after removing the toner cartridge. We observe whether the chip contact coating part of the clear scratch marks.
If there is no clear scratch marks on behalf of the chip and the probe contact is poor, the probe is deformed or damaged.
Replace the probe, you can replace it yourself, or contact the machine after-sales maintenance center. After replacing the probe to observe whether the printer is back to normal.
結論
We are the manufacturer of printer and copier consumables more than 10 years. We strive to give our clients the best deals that don’t disappoint. Our products pass through rigorous tests to ensure compatibility with your printers. If you have any doubts about toner cartridge, drum unit, 開発者, empty toner cartridge, など. お気軽にどうぞ お問い合わせ.
