Ein Leben in einer Welt ohne Drucker ist schlicht undenkbar. Auf Ihrem Computer wäre die Option „Drucken“ nicht verfügbar. Sie müssten handschriftlich schreiben, um Ihre Dateien weiterzugeben oder eine Softcopy zu senden.
Wie seltsam wäre es?
Die Innovation des Laserdrucks von 1957 sollten wir wertschätzen. Dieses Stück führt Sie durch den gesamten Prozess.
Schritt 1: Senden

Der Laserdruckvorgang beginnt, wenn Sie die Drucktaste drücken. Ihr Computer zerlegt die Daten und sendet sie an den ausgewählten Drucker. Ziel ist es, die digitalen Daten in Papier zu übertragen.
Schritt 2: Reinigung
Drucker hinterlassen nach jedem Druck Tonerrückstände. Ihr Drucker wird diese Rückstände entfernen, wenn Sie den nächsten Druckauftrag senden. Der Drucker reinigt die OPC-Trommel mit Hilfe elektrischer Ladungen. Durch den Vorgang wird der gesamte Toner von der Oberfläche entfernt und für den nächsten Druckauftrag vorbereitet.
Diese Tonerreste werden abgekratzt und dem Resttoner zugeführt. Nach dem Vorgang können noch einige elektrische Ladungen zurückbleiben. Es gibt eine elektrostatische Löschlampe, die diese Ladungen entschärft. Dadurch wird sichergestellt, dass die Gebühren beim nächsten Auftrag keine Fehler verursachen.
Schritt 3: Konditionierung
Beim Laserdruck werden elektrische Ladungen benötigt. Das Papier muss aufgeladen werden, um den Toner anzuziehen. Die Trommeleinheit, zu, muss aufgeladen werden. Der gesamte Ladevorgang erfolgt in diesem Schritt, heute als Konditionierung bezeichnet.
Ich möchte wissen, wie es passiert?
Also, Alles beginnt mit der primären Laderolle. Dadurch wird die organische Fotoleitertrommel gedreht, was die Ionen am Koronadraht auslöst. Diese Ionen beschichten dann die Trommel und versorgen sie mit statischer Elektrizität. Dies ist nun der Beginn des Prozesses der Elektrofotografie. Sobald die Umdrehung abgeschlossen ist, erhält der organische Fotoleiter eine negative Ladung.
Schritt 4: Entblößen
Im nächsten Schritt wird die lichtempfindliche Trommel einem Laserstrahl ausgesetzt. Wenn es einem Laserstrahl ausgesetzt wird, Die Oberflächen der Trommel fallen auf 100 Volt ab. Eine Elektronenschicht erzeugt dann ein Bild auf der OPC-Trommel. Dieses Bild wird am Ende des Druckvorgangs auf Papier gedruckt.
Der Laserstrahl trifft dann auf die Tonerkartusche, vertreibt die Dunkelheit. Der Laser prallt dann auf einen rotierenden Spiegel mit vielen Seiten. Dadurch wird der Strahl unterbrochen, was in unzähligen Informationsstrahlen endet. Die Strahlen besprühen die OPC-Trommel und drehen die Ladungen positiv. Die Trommel war zuvor negativ geladen.
Anschließend werden der Trommeleinheit Informationen darüber angezeigt, wie der Druckauftrag aussehen wird. Es ist mit Angaben zu genauen Farben und Dichten ausgestattet. An dieser Stelle, Das positiv geladene Bild kann nun auf dem Blatt Papier platziert werden. ;
Schritt 5: Entwicklung
Die Entwicklungsphase wird mit Hilfe entgegengesetzter Ladungen ermöglicht. Das im ersten Schritt erzeugte latente Bild ist positiv. Im Gegensatz, Die Tonerpartikel sind negativ geladen. Anschließend werden OPC-Trommel und Toner dicht zusammengebracht. Die Trommel absorbiert dann den Toner, um ihn an die Muster des positiv geladenen latenten Bildes anzupassen.

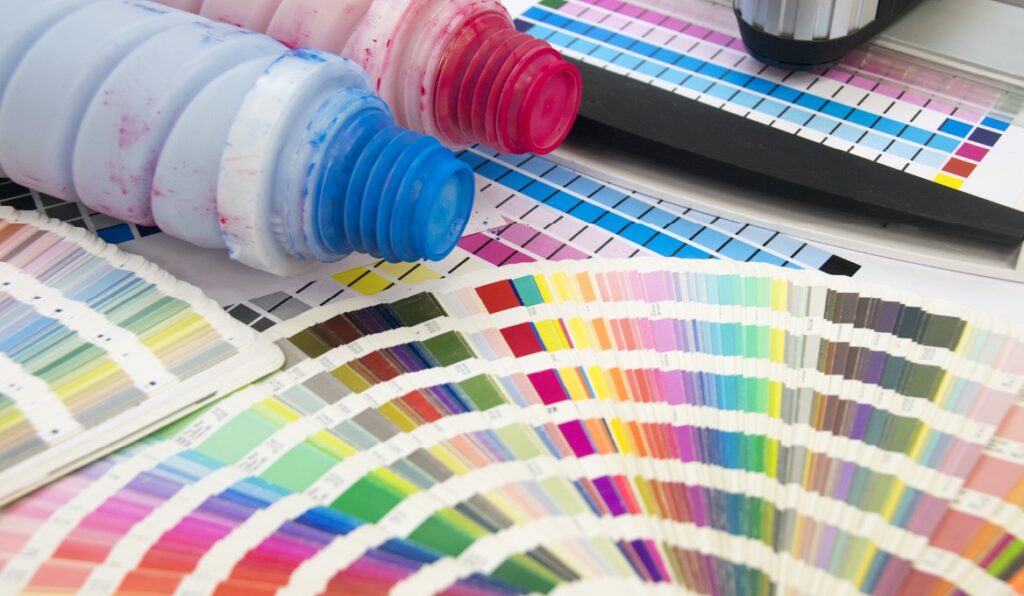
Der Toner erscheint in vier Farben: Schwarz, Cyan, Magenta, und Gelb. Die Farbkombination des Toners wird als CMYK bezeichnet. Der Toner besteht typischerweise zu etwa 90 % aus in feine Partikel zerkleinertem Kunststoff. Der andere Prozentsatz besteht aus Farbpigmenten, Kontrollmittel, und pyrogene Kieselsäure.
Silica verhindert das Zusammenkleben des Toners. Es stellt außerdem sicher, dass der Toner auf natürliche Weise aus der Kartusche fließen kann. Der Toner sollte an keiner Stelle verklumpen, da dies den Druck beeinträchtigt.
Die Kontrollmittel tragen dazu bei, die negativen Ladungen des Toners aufrechtzuerhalten. Diese Wirkstoffe sind Eisen, Chrom, und Zink wird.
Die folgenden Pigmente sorgen für den Farbunterschied:
- Gelbtoner verwendet Benzimidazol, das von Natur aus gelb ist
- Magenta verwendet, 9-Dimethyl-Chinacridon
- Cyan verwendet Kupferphthalocyanin
- Ein schwarzer Toner besteht aus schwarzem Kohlenstoffpulver mit etwas zerkleinertem Kunststoff
Schritt 6: Übertragen
Sobald die Entwicklung abgeschlossen ist, Der Übertragungsvorgang setzt ein. Dabei wird der Toner auf das Papier übertragen. Das Papier wird mit Toner in Mustern bestreut, die zum Druckauftrag passen.
Auch dieser Prozess beruht auf gegensätzlichen Ladungen. Der Toner ist negativ geladen, und das Papier muss eine entgegengesetzte Ladung tragen.
Das Papier wird aus dem Papierfach gezogen und durch die Übertragungswalze geführt. Diese Walze lädt das Blatt Papier positiv auf.
Das Blatt Papier zieht dann die negativ geladenen Tonerpartikel an. Es zeichnet jede der vier Tonerfarben. Dies hängt von der Farbe des Druckauftrags und den bereits gebildeten Mustern ab. Der Vorgang ist präzise, da er auf den Anweisungen des Lasers basiert. Dadurch vermischen sich die Farben im richtigen Verhältnis.
Schritt 7: Verschmelzung
Das Fixieren markiert den letzten Schritt des Laserdrucks. Magnetic energy is the only mechanism making toner stick on the paper in the previous steps. Toner will start smearing the sheet if it comes out that way.
The toner needs to stick permanently. That is why the printer subjects heat and pressure all the same time. This happens in the fuser unit. When heated, the toner will melt and stick to the piece of paper. The temperatures and pressure are sensitive. It should be able to melt the toner to stick to the paper. The fuser heats up to around 225oc within seconds.
There is a risk of paper sticking to the fuser rollers. That is eliminated with the help of a Teflon covering the fuser. The temperatures are high, and papers could easily catch fire. The process also happens within seconds to prevent that risk.
Beim Fixieren bleibt wahrscheinlich überschüssiger Toner zurück. Der Drucker ist mit einer Klinge ausgestattet, die den Toner in einen Abfallbehälter wischt. Benutzer müssen diesen Behälter normalerweise leeren, wenn er voll ist. Ihr Drucker teilt Ihnen mit, wann es soweit ist. Als Vorbereitung für den nächsten Druckauftrag löschen die Drucker dann die auf der Oberfläche verbliebenen Ladungen.
Laserdruck-Animation:
Vorsichtsmaßnahmen, die Sie bei der Verwendung eines Laserdruckers beachten sollten
Laserdrucker sind kompliziert. Sie arbeiten nach präzisen Prinzipien, und alles kann schiefgehen. Durch die ordnungsgemäße Verwendung Ihres Druckers können Sie Schäden vermeiden.
Hier sind einige Vorsichtsmaßnahmen, die Sie beachten sollten:
1. ;Berühren Sie nicht den OPC
Die OPC-Trommel ist das Herzstück des Laserdrucks. Jede Unordnung an diesem Teil könnte Ihnen schlaflose Nächte bereiten. Es handelt sich um eine empfindliche Komponente, die mit präzisen elektrischen Ladungen arbeitet. Wenn das OPC beschädigt wird, Die Markierungen werden dauerhaft auf Ihren Druckdokumenten angezeigt. Wenn Sie es berühren, Das Öl in Ihren Händen beeinflusst die elektrischen Ladungen. Dies führt neben einer Vielzahl von Problemen auch zu einer schlechten Druckqualität.
2. ;Berühren Sie die Fixiereinheit nach einem Druckauftrag nicht
Die Fixiereinheit heizt auf 225 °C aufoC wird gedruckt. Es wird heiß und es kann zu Verbrennungen an den Händen kommen. Warten Sie, bis Ihr Drucker abgekühlt ist, wenn Sie einige Innenfächer öffnen und darauf zugreifen müssen.
3. ;Stellen Sie sicher, dass Ihre Papiere keine Heftklammern haben
Die meisten Innenfächer Ihrer Drucker sind empfindlich. Achten Sie darauf, die Stifte zu entfernen, wenn Sie Recyclingpapier drucken müssen. Heftklammern beschädigen den OPC und das Transferband. Der Austausch dieser Teile wird Sie viel kosten.
4. ;Verwenden Sie hochwertigen Toner
Schlechte Tonerqualität kann zu einer Vielzahl von Problemen mit Ihrem Laserdrucker führen. Das ist kein Grund, bei den Originalpatronen zu bleiben, obwohl. Es gibt kompatible Tonerkartuschen, die die Arbeit erledigen.
Wir sind nun seit zehn Jahren in dieser Branche tätig. Wir versprechen Qualität und Erschwinglichkeit bei allen unseren Produkten. Denken Sie an uns für Ihre nächste Bestellung.
