Sống trong một thế giới không có máy in là điều không tưởng. Bạn sẽ không có tùy chọn “in” đó trên máy tính của mình. Bạn cần phải viết tay để chia sẻ tệp của mình hoặc gửi bản mềm.
Sẽ kỳ lạ biết bao?
Sự đổi mới của in laser năm 1957 là điều chúng ta nên đánh giá cao. Phần này sẽ đưa bạn qua toàn bộ quá trình.
Bước 1: Đang gửi
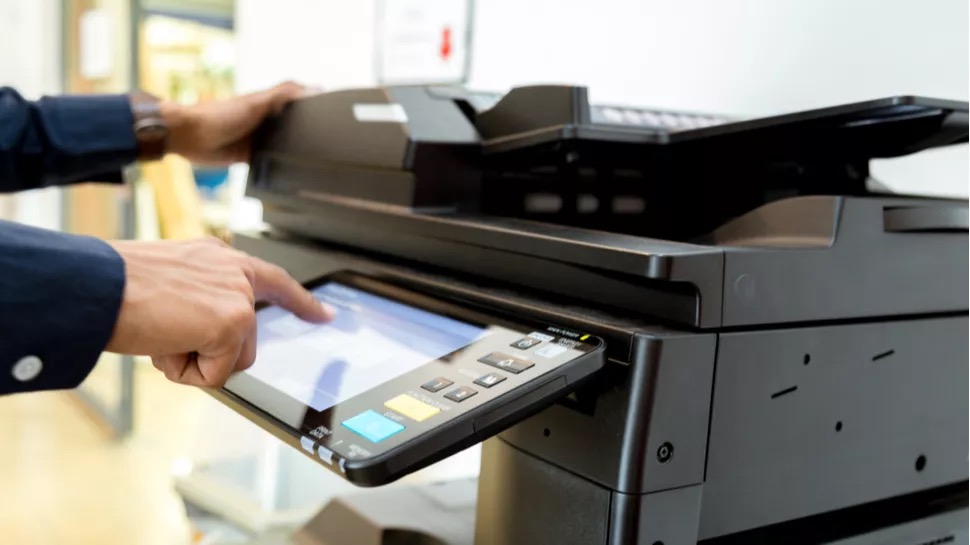
Quá trình in laser sẽ bắt đầu khi bạn nhấn nút in đó. Máy tính của bạn sẽ chia nhỏ dữ liệu và gửi đến máy in đã chọn. Mục đích là chuyển dữ liệu số sang giấy.
Bước 2: Vệ sinh
Máy in để lại cặn mực sau mỗi lần in. Máy in của bạn sẽ làm sạch những cặn này khi bạn gửi lệnh in tiếp theo. Máy in làm sạch trống OPC bằng điện. Quá trình làm sạch tất cả mực trên bề mặt của nó và chuẩn bị cho lệnh in tiếp theo.
Những phần mực còn sót lại này được cạo và dẫn đến mực thải. Một số điện tích có thể vẫn còn sau quá trình. Có đèn xóa tĩnh điện sẽ làm tan các điện tích này. Điều này đảm bảo rằng các khoản phí không gây ra lỗi trong công việc tiếp theo.
Bước 3: điều hòa
In laser phụ thuộc vào điện tích. Giấy cần được sạc để thu hút mực. Bộ trống, cũng vậy, cần phải được tính phí. Tất cả quá trình sạc này xảy ra ở bước này, bây giờ được gọi là điều hòa.
Muốn biết nó diễn ra như thế nào?
Tốt, tất cả bắt đầu với con lăn sạc chính. Nó sẽ quay trống quang dẫn hữu cơ, kích hoạt các ion trên dây corona. Những ion này sau đó sẽ phủ lên trống và cung cấp tĩnh điện cho nó.. Đây bây giờ là sự khởi đầu của quá trình chụp ảnh điện. Chất quang dẫn hữu cơ sẽ tích điện âm sau khi cuộc cách mạng hoàn tất.
Bước 4: Phơi bày
Bước tiếp theo là cho trống cảm quang tiếp xúc với chùm tia laze. Khi tiếp xúc với tia laze, bề mặt của trống sẽ giảm xuống 100 volt. Sau đó, một lớp electron sẽ tạo thành hình ảnh trên trống OPC. Hình ảnh này sẽ được in ra giấy khi kết thúc quá trình in.
Khi đó chùm tia laser sẽ đập vào hộp mực, xua đuổi bóng tối. Sau đó tia laser chiếu vào một tấm gương quay có nhiều mặt. Điều này phá vỡ chùm tia, kết thúc bằng vô số tia thông tin. Các tia sẽ phun vào trống OPC làm tích điện dương. Trống trước đây đã được tích điện âm.
Bộ trống sau đó sẽ được hiển thị thông tin về lệnh in sẽ như thế nào. Nó được trang bị các chi tiết về màu sắc và mật độ chính xác. Tại thời điểm này, hình ảnh tích điện dương đã sẵn sàng để được đặt trên tờ giấy. ;
Bước 5: Đang phát triển
Giai đoạn phát triển được thực hiện với sự trợ giúp của các điện tích trái dấu. Hình ảnh tiềm ẩn được hình thành ở bước trước là tích cực. Ngược lại, các hạt mực được tích điện âm. Sau đó trống OPC và mực được đưa lại gần nhau. Sau đó, trống sẽ hấp thụ mực để khớp với các mẫu của hình ảnh tiềm ẩn tích điện dương.
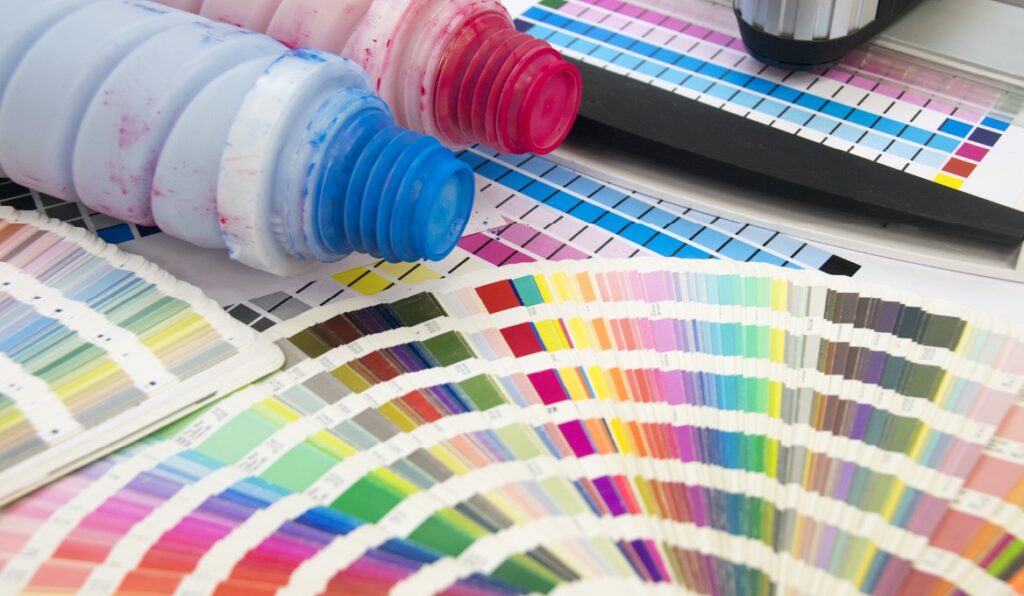
Mực xuất hiện với bốn màu: Đen, Cyan, Magenta, và màu vàng. Sự kết hợp màu mực được gọi là CMYK. Mực thường được làm từ khoảng 90% nhựa được nghiền thành các hạt mịn. Phần trăm còn lại bao gồm các sắc tố màu, tác nhân kiểm soát, và silic bốc khói.
Silica giúp mực không bị dính vào nhau. Nó cũng đảm bảo rằng mực có thể chảy ra khỏi hộp mực một cách tự nhiên. Mực không được vón cục lại với nhau tại bất kỳ điểm nào vì nó sẽ cản trở việc in.
Các tác nhân kiểm soát giúp giữ điện tích âm của mực. Các chất này là sắt, crom, và kẽm sẽ.
Các sắc tố sau đây tạo ra sự khác biệt về màu sắc:
- Mực màu vàng sử dụng Benzimidazole, màu vàng tự nhiên
- công dụng màu đỏ tươi, 9-Dimethyl-Quinacridone
- Cyan sử dụng Đồng Phthalocyanine
- Mực đen được cấu tạo từ bột carbon đen với một ít nhựa bị hỏng
Bước 6: Chuyển giao
Một khi quá trình phát triển hoàn tất, chuyển các bộ quy trình trong. Đây là lúc mực được chuyển lên giấy. Giấy được rắc mực theo hoa văn phù hợp với công việc in ấn.
Quá trình này cũng dựa vào các khoản phí trái ngược nhau. Mực được tích điện âm, và tờ giấy phải chịu một khoản phí ngược lại.
Giấy được kéo ra khỏi khay giấy và đi qua con lăn chuyển giấy. Con lăn này sẽ tích điện dương cho tờ giấy.
Khi đó tờ giấy sẽ hút các hạt mực mang điện tích âm. Nó vẽ từng màu trong số bốn màu mực. Điều này phụ thuộc vào màu sắc của lệnh in và các mẫu đã hình thành. Quá trình này chính xác vì nó được thực hiện dựa trên hướng dẫn từ tia laser. Nó làm cho màu sắc pha trộn theo tỷ lệ thích hợp.
Bước 7: Cầu chì
Nung chảy đánh dấu giai đoạn cuối cùng của in laser. Năng lượng từ tính là cơ chế duy nhất làm cho mực dính trên giấy ở các bước trước. Mực sẽ bắt đầu làm nhòe tờ giấy nếu nó chảy ra như vậy.
Mực cần bám vĩnh viễn. Đó là lý do tại sao máy in luôn chịu nhiệt và áp suất. Điều này xảy ra trong bộ phận nhiệt áp. Khi đun nóng, Mực sẽ tan chảy và dính vào mảnh giấy. Nhiệt độ và áp suất rất nhạy cảm. Nó có thể làm tan chảy mực để dính vào giấy. Bộ nhiệt áp nóng lên đến khoảng 225ồc trong vài giây.
Có nguy cơ giấy dính vào trục cuộn nhiệt áp. Điều đó được loại bỏ với sự trợ giúp của lớp Teflon che phủ bộ nhiệt áp. Nhiệt độ cao, và giấy tờ có thể dễ dàng bắt lửa. Quá trình này cũng diễn ra trong vòng vài giây để ngăn chặn rủi ro đó.
Mực dư thừa có thể vẫn còn trong quá trình sấy mực. Máy in được trang bị lưỡi gạt mực cho vào thùng rác. Người dùng thường sẽ cần dọn sạch thùng đó khi đầy. Máy in của bạn sẽ cho bạn biết khi nào đến lúc. Sau đó, máy in sẽ xóa các vết tích còn sót lại trên bề mặt để chuẩn bị cho lệnh in tiếp theo..
Hoạt hình in laser:
Những lưu ý cần nhớ khi sử dụng máy in Laser
Máy in laser rất phức tạp. Họ làm việc với những nguyên tắc chính xác, và bất cứ điều gì có thể đi sai. Sử dụng máy in đúng cách sẽ giúp bạn tránh làm hỏng nó.
Dưới đây là một số biện pháp phòng ngừa cần ghi nhớ:
1. ;Đừng chạm vào OPC
Trống OPC là trái tim của in laser. Bất kỳ sự lộn xộn nào ở phần này đều có thể khiến bạn mất ngủ nhiều đêm. Đó là một bộ phận tinh vi hoạt động với các điện tích chính xác. Nếu OPC bị bầm tím, các dấu hiệu sẽ xuất hiện vĩnh viễn trên tài liệu in của bạn. Nếu bạn chạm vào nó, dầu trong tay bạn sẽ ảnh hưởng đến điện tích. Điều này sẽ dẫn đến chất lượng in kém trong số nhiều vấn đề.
2. ;Không chạm vào bộ nhiệt áp sau lệnh in
Bộ phận Fuser nóng lên tới 225ồC sẽ in. Trời nóng và có thể làm bỏng tay bạn. Đợi cho đến khi máy in nguội nếu bạn cần mở và truy cập vào một số ngăn bên trong.
3. ;Đảm bảo giấy tờ của bạn không có ghim ghim
Hầu hết các ngăn bên trong máy in của bạn đều mỏng manh. Cẩn thận tháo ghim nếu bạn cần in giấy tái chế. Kim bấm sẽ làm hỏng OPC và đai chuyển. Bạn sẽ tốn rất nhiều chi phí để thay thế những bộ phận này.
4. ;Sử dụng mực chất lượng
Mực kém chất lượng có thể gây ra nhiều vấn đề cho máy in laser của bạn. Đó không phải là lý do để sử dụng hộp mực gốc, mặc dù. Có hộp mực tương thích để hoàn thành công việc.
Chúng tôi đã ở trong ngành này được mười năm rồi. Chúng tôi cam kết chất lượng và giá cả phải chăng trong tất cả các sản phẩm của chúng tôi. Hãy xem xét chúng tôi cho đơn hàng tiếp theo của bạn.